Microsoft introduced windows Defender with Win Vista, and it continues with Win 10 also. It is an antivirus and keeps your Windows computer safe from online attacks. Personally, I don’t use any third-party antivirus software. If you install 3rd-party antivirus software, Windows Defender automatically gets turn off. When you uninstall your third-party antivirus software and restart your computer, Windows Defender turns on automatically and starts protecting your Windows PC. In case you find that Defender does not start automatically, you will have to start it manually. With the help of a post, you will be able to enable or start Windows Defender manually on a Windows 10/8/7 computer.
When Windows find that there is no antivirus installed on your PC, you will see notifications like below:
 Clicking on it will take you Windows Defender setting page.
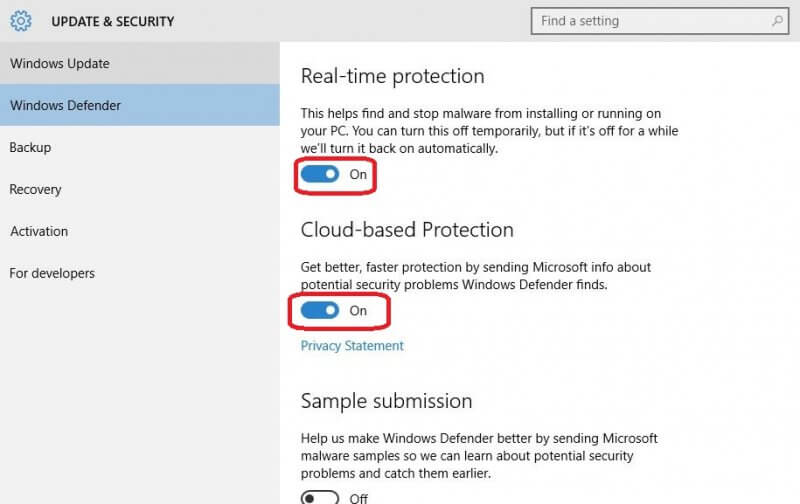
Turn on “Real-time protection” and “Cloud-based Protection” to secure your PC. If you want to submit the sample to Microsoft, then turn on “Sample submission.”
To update the Windows Defender automatically, click on the link labeled “Use Windows Defender.”
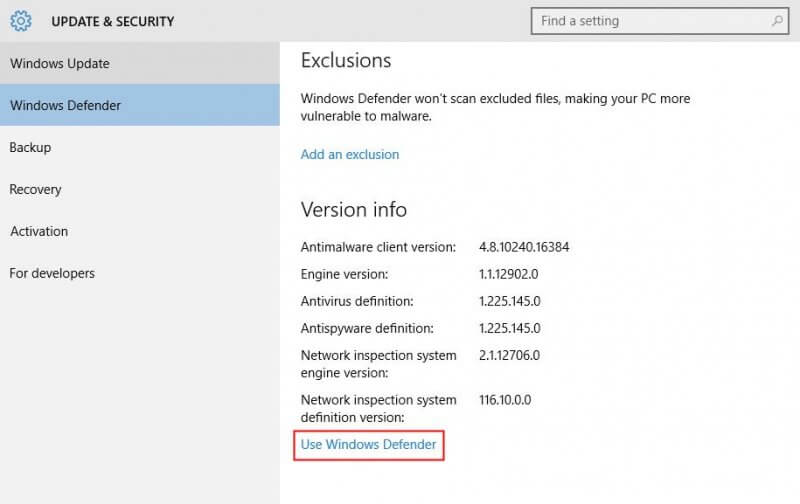 Windows Defender software will be opened.
 Click the “Update” tab and from there, click on the “Update” button. It will start downloading the latest definitions of Windows Defender. You can also update the Windows Defender manually.


