In Windows 10, the default scroll value for the Mouse wheel is automatically set to 3. If you want to increase or decrease the mouse scrolling speed to make things easier for you, you should read this post.
How to Change Mouse Scroll Speed in Windows 10 PC?
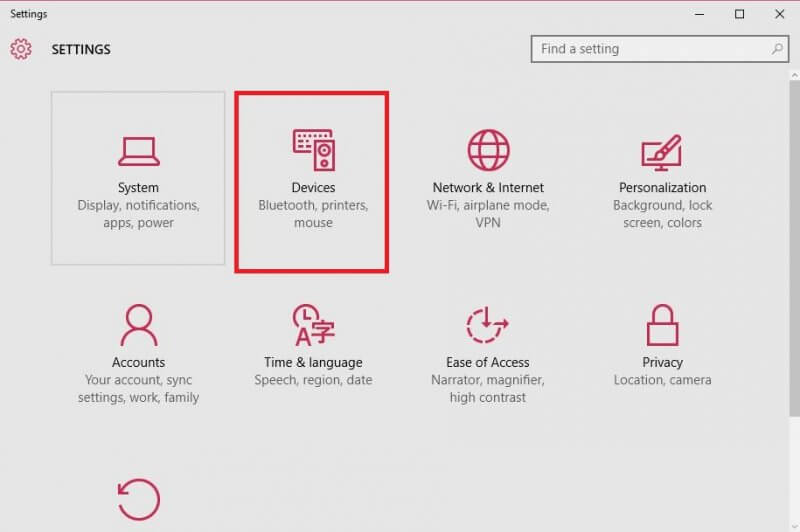
1. Click on Start and select Settings.
 2. Under the setting, click on Devices.
3. From the left pane, click on Mouse & Touchpad.
Or you can type Mouse in search of Settings to access Mouse properties.
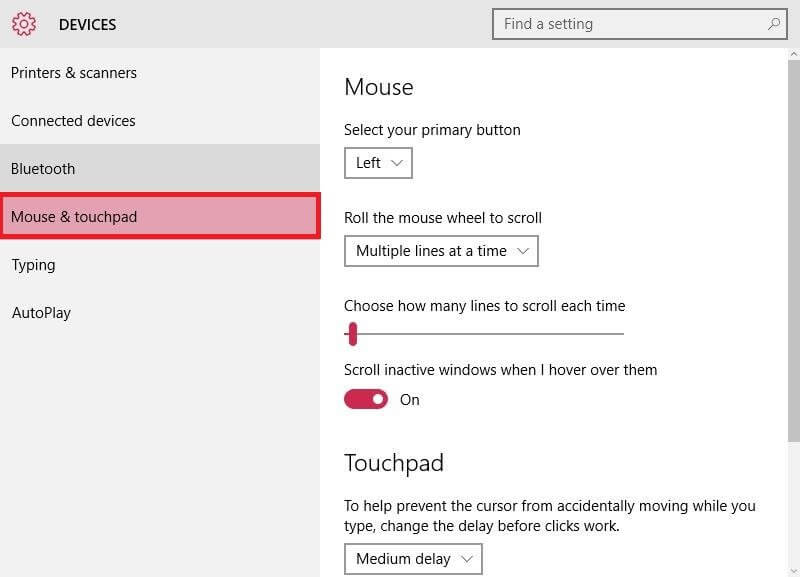 You should see a slider, which is used to set how many lines the scroll wheel should skip at a time for every scroll. Hold and drag the slider to the number you want.
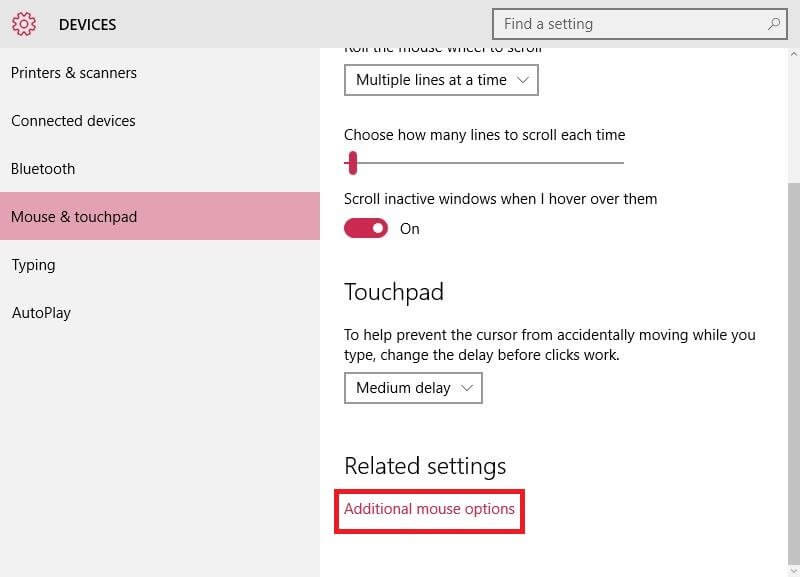
 As mentioned above, by default, the slider’s value is already set at ‘3’. If required, you can fine-tune it to any sensitivity between 1 – 100. You can also enter a value of your choice for your scroll wheel’s sensitivity. To do this, open up the link at the bottom of the page, “Additional mouse options.”
 When the mouse properties windows open up, click the Wheel tab.
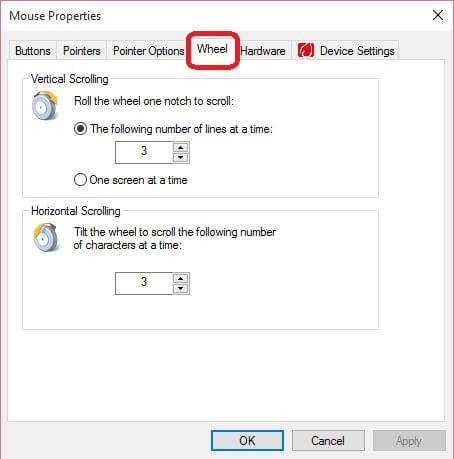 Here you can change the mouse sensitivity by putting any value from 1-100, either for Vertical Scrolling or Horizontal Scrolling, or both.
Also Read:
- How to download and install Mac Mouse Cursor in Windows 10?
- How to change the look of Windows 10 Desktop like an iPad?
- How to change the mouse pointers scheme in Windows 10?


