Windows operating system does not allow you to rename, edit or delete the protected system files. To make any changes in protected operating system files, one has to take ownership of a file, which is not easy for an average user.
If you often take ownership of Windows protected files to edit or delete them, adding the ‘Take ownership’ option to the right-click context menu is a good idea. By adding the Take ownership option to the right-click context menu, you can take ownership of any files in a few seconds.
To add Take ownership in the right-click menu in Windows 10, you need to make a few changes in the Windows Registry, which is not comfortable. Hence, we provide a ready-to-use Registry file, which can be merged to your Windows Registry by just double-click on it.
How to add the ‘Take ownership’ option to the file/folder context menu in Windows 10?
1. Download the ready-made Take Ownership.zip file and extract using WinRAR software.
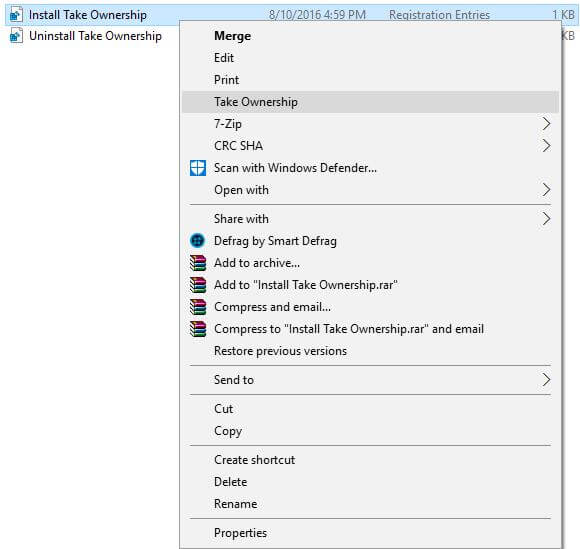
2. You will get two files: Install Take Ownership.reg and Uninstall Take Ownership.reg.
3. Right-click on Install Take Ownership.reg file and select Merge option.
4. Click Yes then OK.
From now when you will right-click on any file /folder, you will get an option “Take Ownership.”
To uninstall the Take Ownership option, merge the registry file Uninstall Take Ownership.reg.


