The latest operating system, Windows 10 from Microsoft, comes with a lot of features. Most of them are useful, but a few are occupy the space and using RAM. In this post, we will see how to Turn Windows features On or Off via Control Panel. We will check out how to add, remove or manage optional features in Windows 10 Settings.
If you don’t need any feature or want to use some built-in feature, you can turn features on or off using the Control Panel or the Settings app in Windows 10.
How to Turn Windows features On or Off?
1. Click on the Start menu and search for Control Panel.
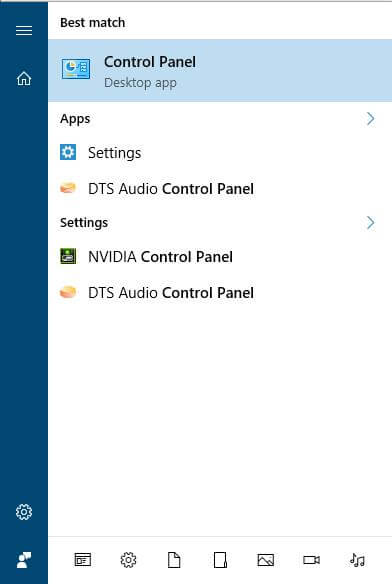 2. Click on the Control Panel (Desktop app) to open the same.
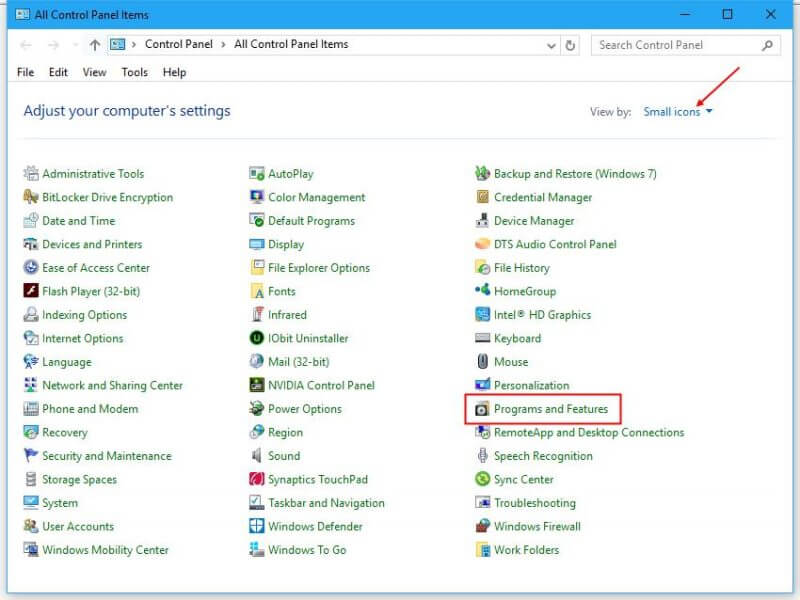 3. Set the “View by:” to “Small icons,” then click on “Programs and Features.”
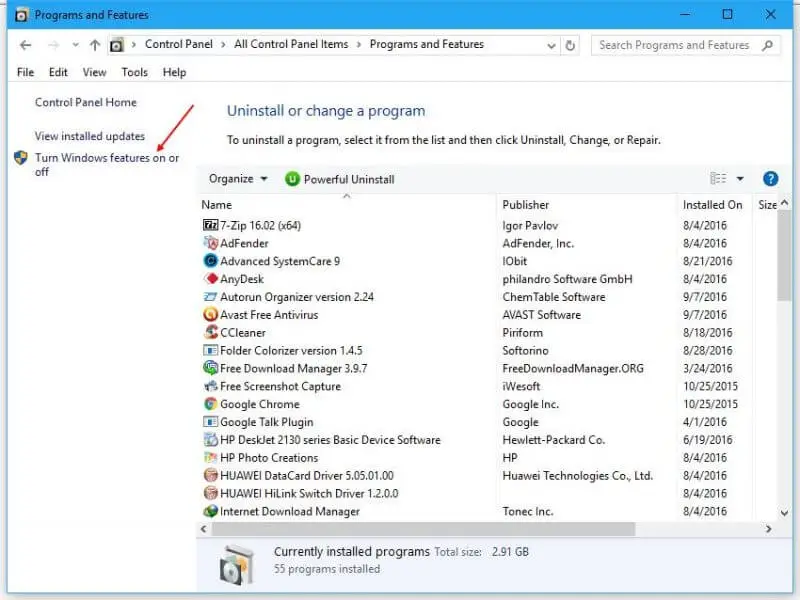 4. From the left side pane, click “Turn Windows features on or off.”
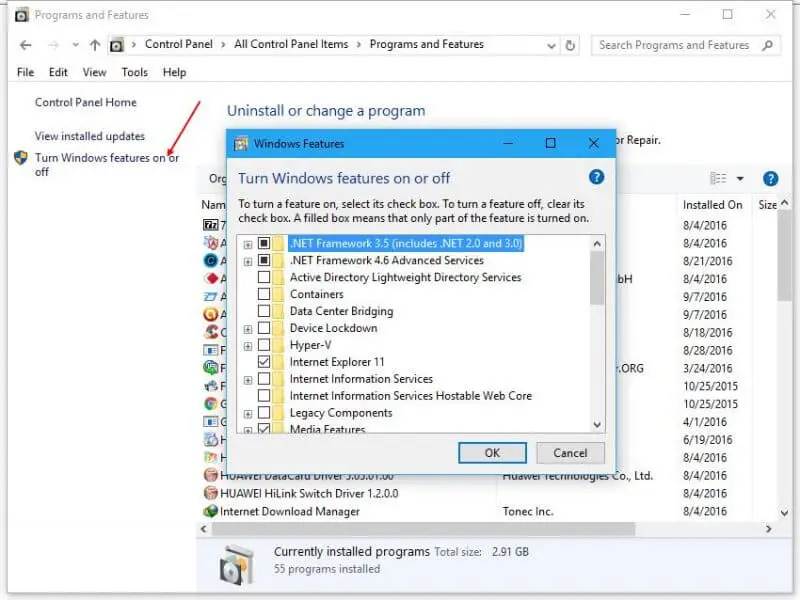 5. Windows Features window will be opened.
Here you can see all the features that are available for you. You may expand a segment by clicking on the ‘+’ sign and select only those features you want to enable. Once you choose the element you want to turn on or deselect one which you want to turn off, click on the OK button.
Windows will start applying the changes and may ask you to reboot your computer.
If your computer is running Windows 10 Pro (v1607), you will see the following features that you can enable or disable:
- .NET Framework 3.5
- .NET Framework 4.6 Advanced Services
- Active Directory Lightweight Services
- Containers
- Data Center Bridging
- Device Lockdown
- Hyper-V
- Internet Explorer 11
- Internet Information Services
- Internet Information Services Hostable Web Core
- Legacy Components like DirectPlay
- Media Features
- Microsoft Message Que Server
- Microsoft Print to PDF
- MultiPoint Connector
- Print and Document Services
- RAS Connection Manager Administration Kit
- Remote Differential Compression API Support
- RIP Listener
- Services for NFS
- Simple Network Management Protocol
- Simple TCPIP services
- SMB 1.0/CIFS Sharing Support
- SMB Direct
- Telnet Client
- TFTP Client
- Windows Identity Foundation 3.5
- Windows PowerShell 2.0
- Windows Process Activation Service
- Windows Subsystem for Linux
- Windows TIFF IFilter
- Work Folders Client
- XPS Services
- XPS Viewer
How to manage optional features via Windows 10 Settings?
Windows 10 lets you add, remove or manage some optional features via its Settings app.
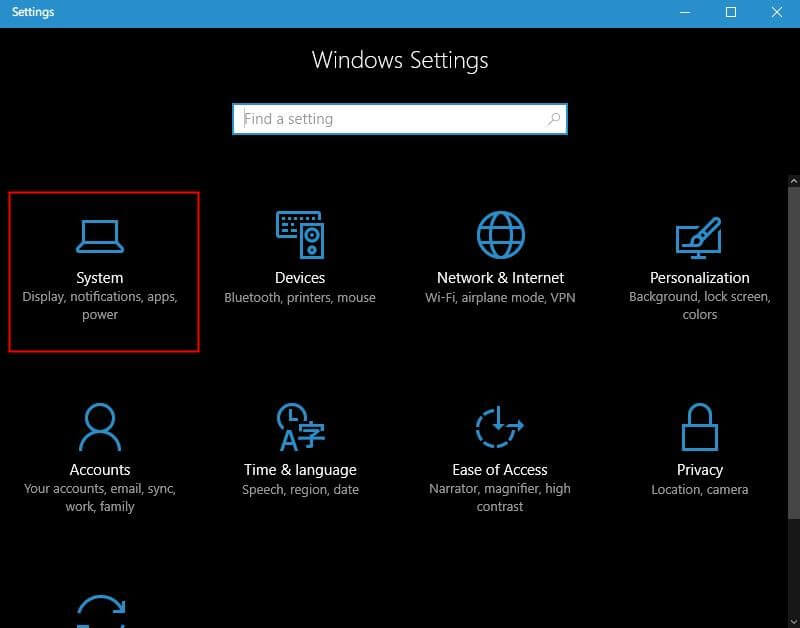
1. To access the additional features of Windows 10, click on Start Menu, and after that, click the Settings app Icon.
![]()
2. Click System (Display, notifications, apps, power).
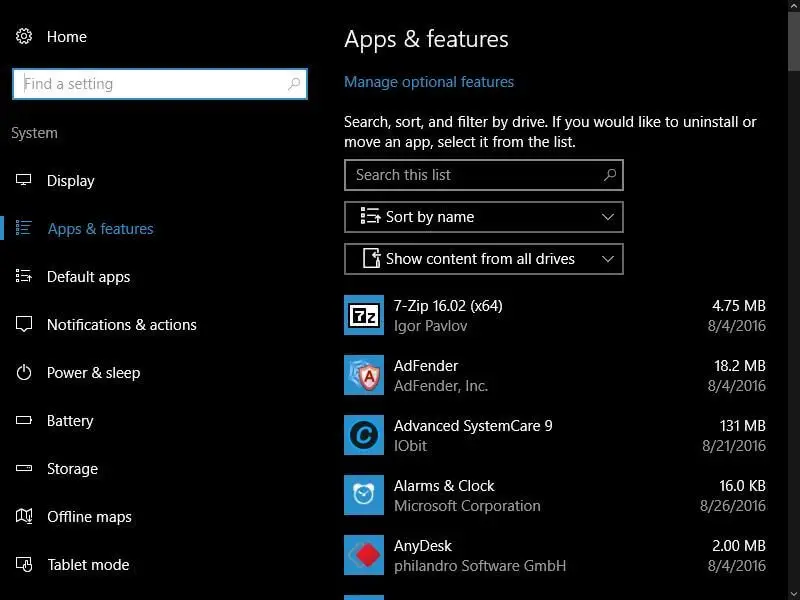
 3. From the left pane, click “Apps & features.”
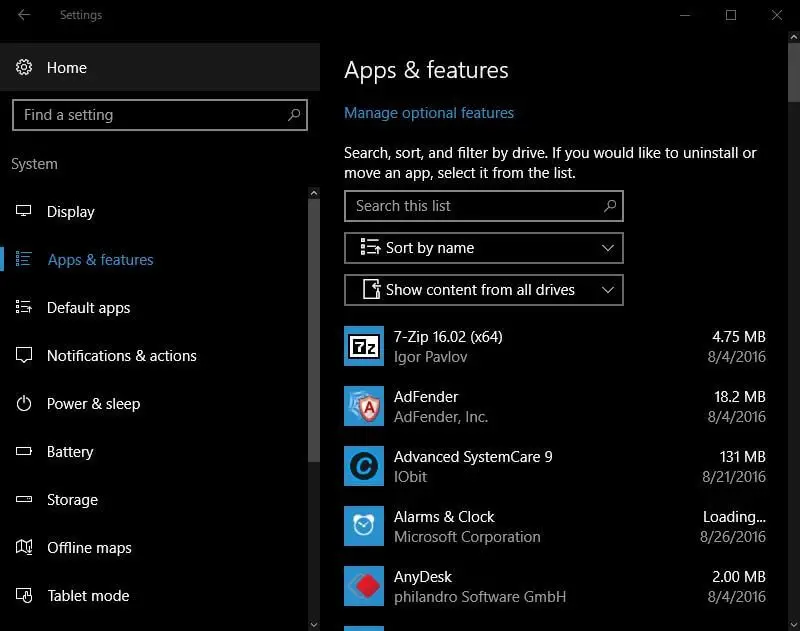 4. Click on the “Manage optional features” link.
It will open the following window:
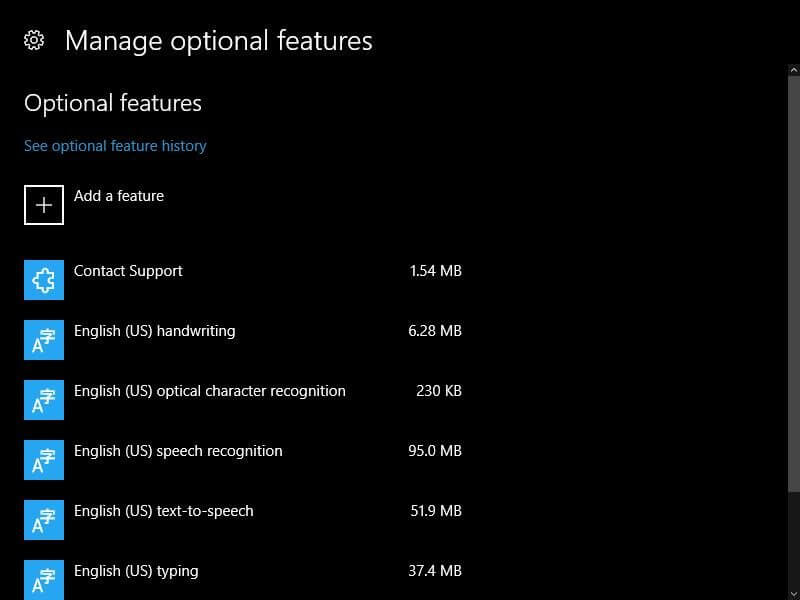 5. To remove any built-in Windows 10 app or feature, select and click on the Uninstall button.
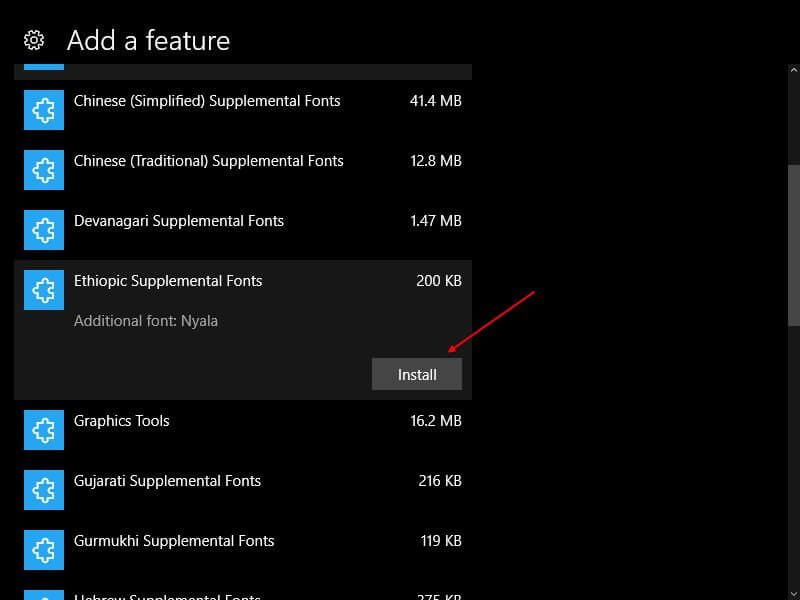
 6. To add a part, click on the “+ Add a feature” link to open the following window:
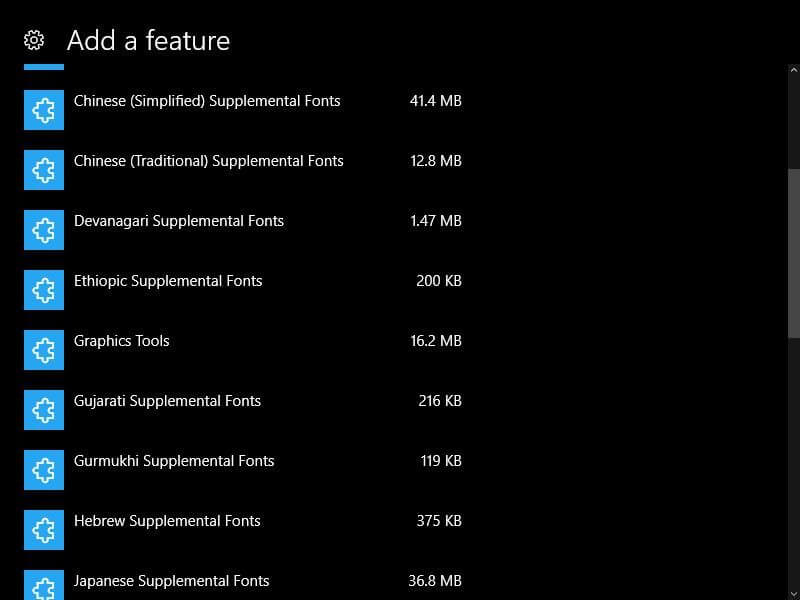 7. Click on any app or feature you like to install, and then click on the “Install” button.