Disk Management is a powerful built-in tool in Windows 10 that allows you to manage your computer’s hard drives and partitions. Whether you want to create, format, shrink, extend, or delete partitions, Disk Management is your go-to solution. In this article, we will explore multiple user-friendly methods to open Disk Management in Windows 10, so you can easily access and utilize its features.
 How to Open Disk Management in Windows 10?
Method 1: Using the Start Menu Search
One of the simplest ways to open Disk Management is through the Start Menu search. Here’s how:-
Step 1. Click on the Start button in the bottom-left corner of the screen.
Step 2. In the search bar, type “Disk Management” and click on “Create and format hard disk partitions.”
 The Disk Management window will open, displaying a list of your computer’s disks and their corresponding partitions.
Method 2: Using the Run Command
The Run command is another quick way to access Disk Management. Follow these steps:-
Step 1. Press the Windows key + R on your keyboard to open the Run dialog box.
Step 2. In the Run dialog box, type “diskmgmt.msc” and click OK.
 Disk Management will launch, allowing you to manage your disk partitions effectively.
Method 3: Using the Computer Management Console
The Computer Management console provides access to various Windows system tools, including Disk Management. Here’s how to open Disk Management through the Computer Management console:-
Step 1. Right-click on the Start button and select “Computer Management” from the context menu.
Step 2. In the Computer Management window, expand the “Storage” category in the left pane.
 Step 3. Click on “Disk Management” to open the Disk Management tool.
Method 4: Using the Control Panel
If you prefer using the Control Panel, you can open Disk Management from there as well. Follow these steps:-
Step 1. First, open the Control Panel on your Windows 10 computer.
Step 2. In the Control Panel window, set the View by option to “Category.”
 Step 3. Click on “System and Security.”
Step 4. Under “Administrative Tools,” click on “Create and format hard disk partitions.” This will open Disk Management.
Method 5: Using Windows PowerShell
Windows PowerShell is a powerful command-line tool that can also be used to open Disk Management. Here’s how:-
Step 1. Right-click on the Start button and select “Windows PowerShell” or “Windows PowerShell (Admin)” to open PowerShell with administrative privileges.
Step 2. In the PowerShell window, type “diskmgmt” and press Enter.
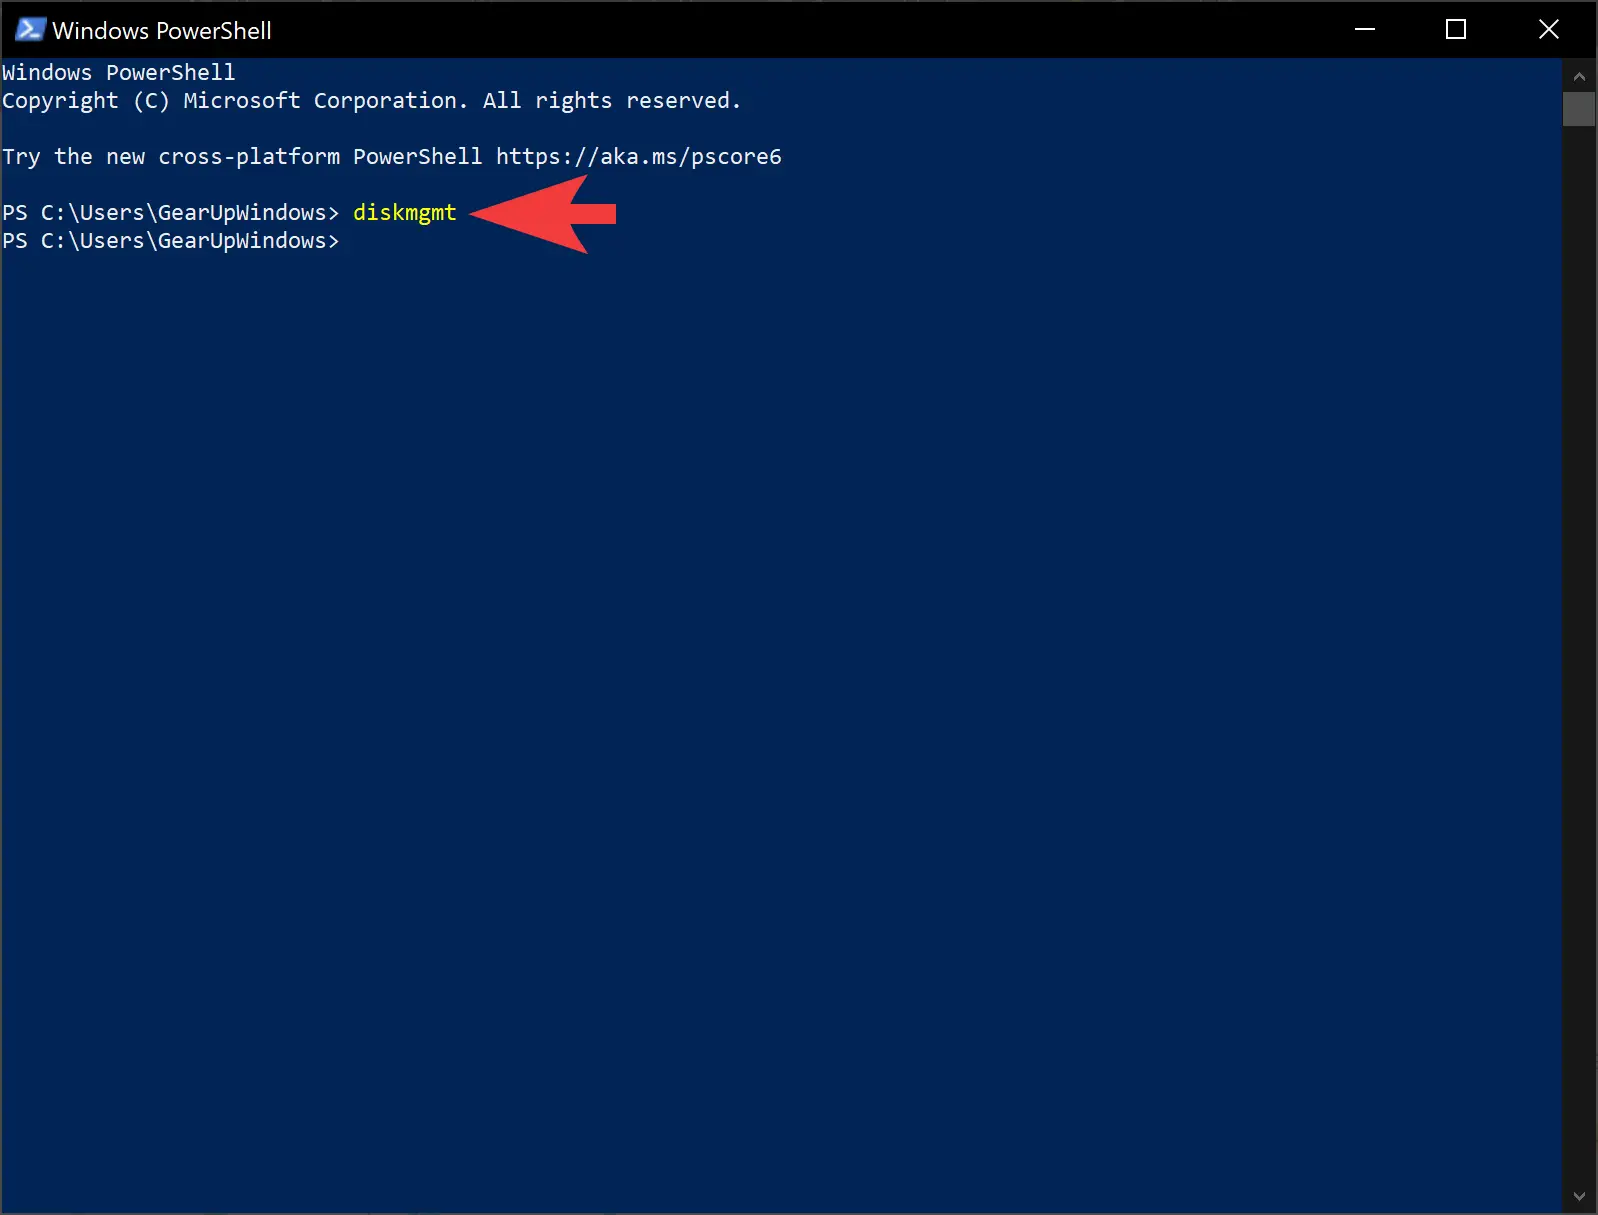 The Disk Management tool will open, allowing you to manage your disk partitions efficiently.
With these user-friendly methods at your disposal, opening Disk Management in Windows 10 is a breeze. Choose the method that suits you best and start managing your disk partitions with ease.
Conclusion
In conclusion, Disk Management is an essential tool for managing your computer’s hard drives and partitions in Windows 10. Whether you need to create, format, shrink, extend, or delete partitions, accessing Disk Management is crucial. By utilizing the various methods outlined in this article, you can easily open Disk Management and take control of your disk partitions effortlessly.


