Telnet is a simple text-based network protocol that administrators use to access remote computers over TCP/IP networks like the Internet. Telnet was first created and launched in 1969. With the launch of Windows Vista, Microsoft has removed the default Telnet services. However, it still can be added in Windows 7, Windows 8, Windows Server 2008, Windows Server 2008 R2, Windows Server 2012, and Windows Vista.
There are two methods for adding Telnet client/server tools.
First Method – Command Prompt
1. Open the Command Prompt with administrative privilege (To do this, go to C:\Windows\System32 and on cmd.exe right click and run as administrator, when UAC prompts then click Yes).
2. Type the following command to use Telnet Client :
pkgmgr /iu:”TelnetClient”
or the following for Telnet Server :
pkgmgr /iu:”TelnetServer”
3. Press Enter from the keyboard.
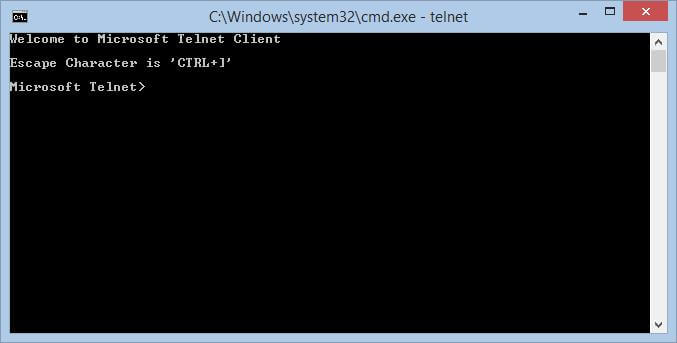
To check that the Telnet is installed or not, open the command prompt. Write telnet and press Enter from the keyboard. It should show “Microsoft Telnet>” as below screenshot. To exit the telnet, issue quit command.
 Second Method – GUI
To install Telnet Client on Windows 7 / Windows Vista / Windows 8 / Windows 8.1, perform the following steps:-
1. Click Start, and then click Control Panel.
2. On the Control Panel Home page, click Programs.
3. In the Programs and Features section, click Turn Windows features on or off.
4. If the User Account Control dialog box appears, confirm, and then click Continue.
5. In the Windows Features list, select Telnet Client, and then click OK.
To install Telnet Client on Windows Server 2008 R2 or Windows Server 2008, do the following steps:-
1. Start Server Manager. Click Start, right-click Computer, and then click Manage.
2. If the User Account Control dialog box appears, confirm, and then click Continue.
3. In the Features Summary section, click Add features.
4. In the Add Features Wizard, select Telnet Client, and then click Next.
5. On the Confirm Installation Options page, click Install.
6. When installation finishes, on the Installation Results page, click Close.
That’s all, you have done it.
If you don’t want to do the above-mentioned procedures, then download putty and use it.


