When you install Windows on PC, it typically assigns a letter of the alphabet to most drives automatically. If you want to organize your drives in a certain way, you can change the drive letter. You can assign any letter to a drive as long as a different drive doesn’t already use the letter.
How to Change, Add or Remove a Drive Letter in Windows 10?
1. Log in to the Administrator account or user account with administrative privilege.
2. Press Windows + R simultaneously from the keyboard and write compmgmt.msc or compmgmtlauncher.
3. Click OK to open the computer management window.
4. When UAC (User Account Control) prompts, then click Yes.
 5. Click “Disk Management” from the left pane. It will show all drive letters, which are available on your PC.
6. Right-click on any drive, which you want to change the letter and choose “Change Drive Letter and Paths…..”.
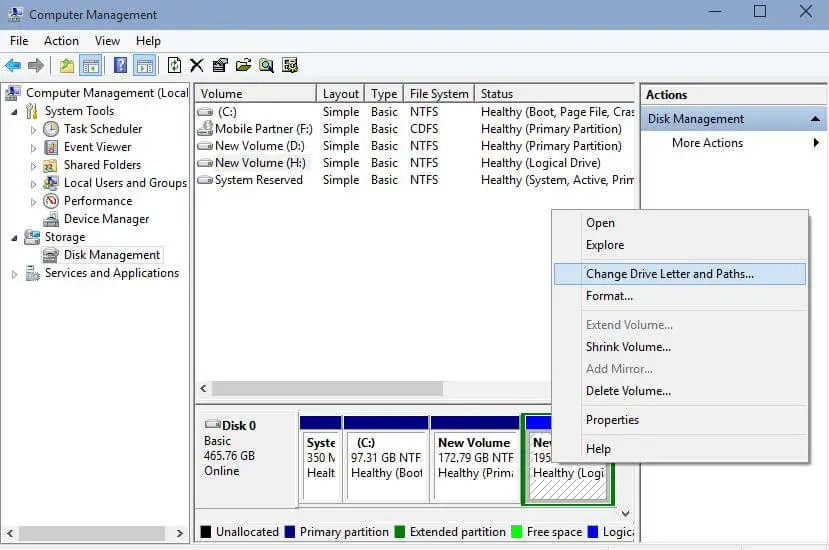 7. Here, you can change the drive letter, assign and a new path, remove the drive letter, or if already removed, then you can add the drive letter.

Note :
1. If the drive is already opened, then first close it and proceed.
2. You can’t change a drive letter if the drive is either a system partition or a boot partition.
You can also show drive letters before the drive name in This PC / Computer.

