After creating a new Blog in Blogspot.com, you might have noticed a menu on the top of it when you view your blog. This is called NavBar and remains present with every default theme which Google Blogspot provides. With the help of this NavBar, you can go to Next blog, write a new post, change the design, Sign Out / In, and share your blog via email / Twitter / Facebook.

If you want to give a professional look to your Blog and want to remove this NavBar, it is possible in four ways.
Method I:
By installing a third-party theme, which does not come with NavBar.
Method II:
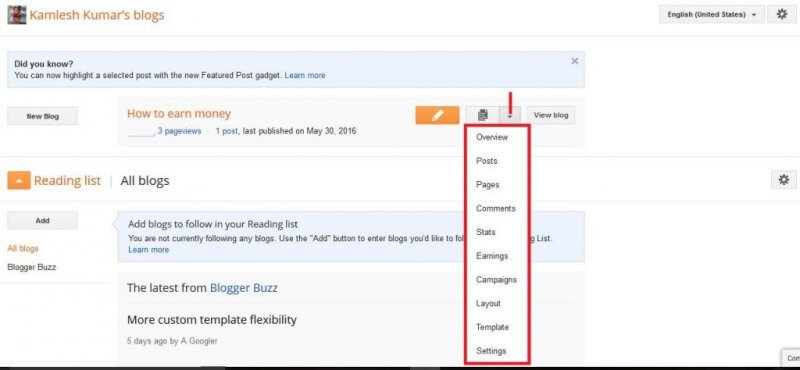
1. Log in to your Blogger account.
2. Click on the drop-down and select Layout.
 3. Clink on Edit link in from of Navbar.
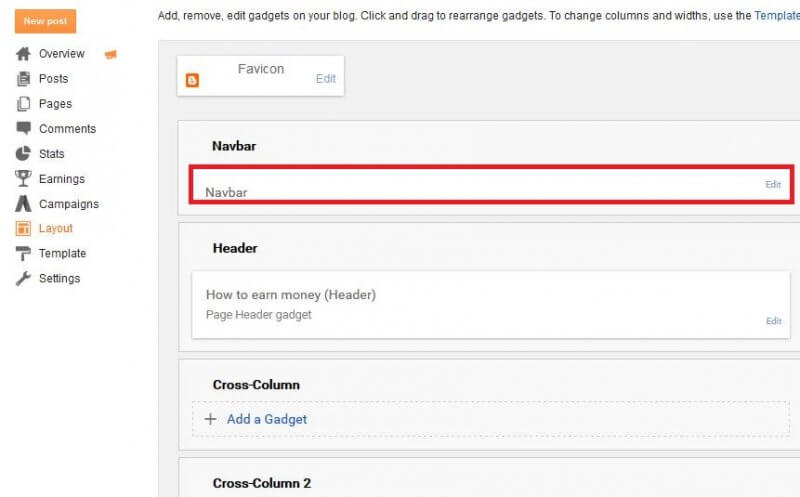 4. Under “Navbar Configuration,” select Off.

5. Click Save.
Method III:
1. Log in to your Blogger account.
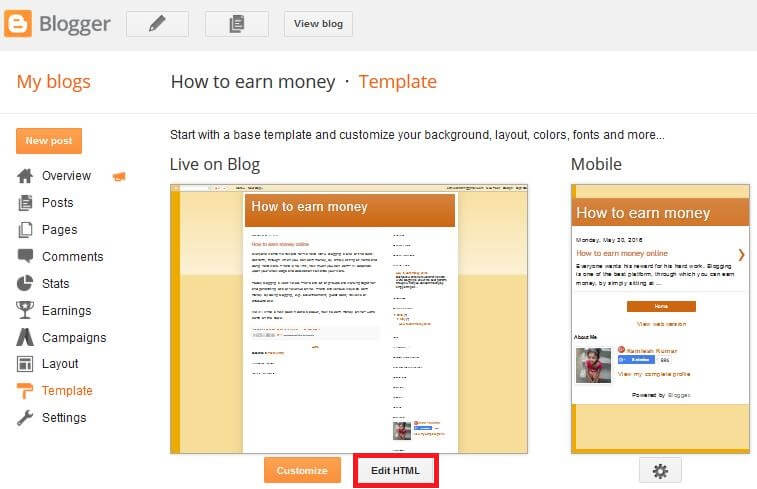
2. Click on the drop-down and select Template.
3. Click “Edit HTML.”
 4. Search for Navbar widget code.
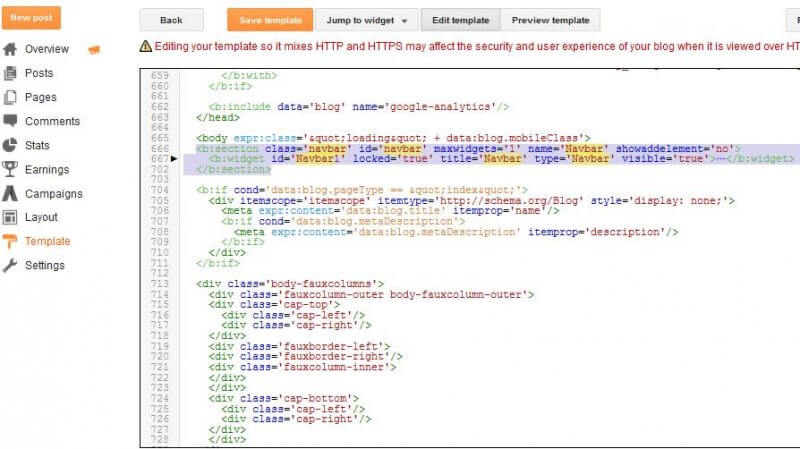
For easiness, press Ctrl + F from the keyboard and type Navbar. It will highlight the Navbar under the code of the theme.
The whole Navbar widget code will be something like :
<b:section class=’navbar’ id=’navbar’ maxwidgets=’1′ name=’Navbar’ showaddelement=’no’>
<b:widget id=’Navbar1′ locked=’true’ title=’Navbar’ type=’Navbar’ visible=’true’> <b:includable id=’main’>…</b:includable>
</b:widget>
</b:section>
5. Select and delete the Navbar widget code.
6. Click “Save template.”
Method IV:
1. Edit the template and before closing tag, paste the following:
#navbar {
height: 0px;
visibility: hidden;
display: none;
}
2. Save the template.
That’s all!
Once you are successfully running your blog, you need to follow some essential SEO tips:
- Tricks & tips to drive the maximum traffic through Social Media
- Ways for businesses to compete with industry giants in terms of SEO
- Tips for improving the site’s SEO
- Role of SEO in increasing the productivity of your business
- How is SEO beneficial for a start-up business?


