If you see an error message saying that the Windows System file has been corrupted, you can utilize the SFC command-line utility to repair the damaged system files of Windows 10 / 8 / 7 / Vista / XP.
How to Check and Repair Damaged System Files In Windows 10/8/7/Vista/XP?
1. Run the Command Prompt as Administrator.
2. To do this in Windows 10, click “Start” in Windows 10 and type CMD.
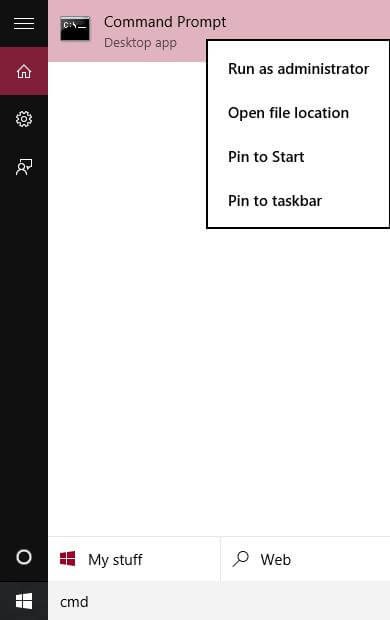
Right-click on the Command Prompt and choose “Run as Administrator.”
It will open Command Prompt with administrative privilege.
Or, login to Windows PC as Administrator.
Login to Windows PC as Administrator.
Click Start > All Programs > Accessories> right-click on Command Prompt and select “Run as Administrator.”
2. Type “SFC /scannow” without quotes in the command prompt and hit enter.
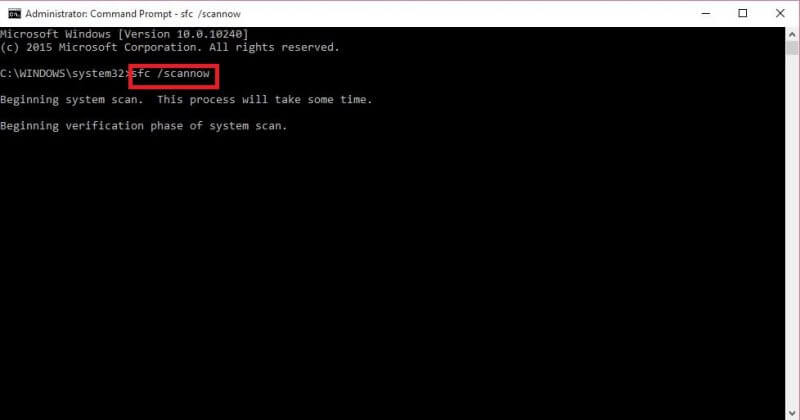
3. Windows will now scan for damaged system files and verifies their integrity.
Wait till the scan is 100% complete. During the process, it may prompt for Windows Installation CD/DVD to copy original files. Accordingly, insert the installation CD.
It may also prompt you for the reboot after finishing scanning the system files.


